DIY Sprouts
Sprouts can make a crispy addition to sandwiches, salads, and other dishes. They can be eaten cooked or raw, and they're incredibly easy to grow! Growing sprouts is a great winter project and a fun activity for kids We have a quick and simple tutorial that should have you growing your own sprouts in just about a week’s time.
Starting out
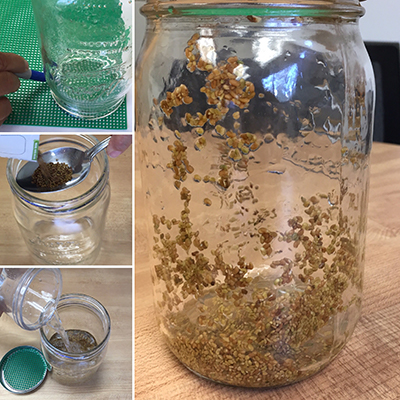
Gather your supplies. You’ll need a quart-sized glass jar that has been cleaned and sterilized—a run through the dishwasher will get this done. You need seeds for sprouting (of course); we used alfalfa but there are many others you can use, like broccoli or radish. For the best seed prices, check bulk suppliers. You will also need a spoon to measure out the seeds. Finally you need a covering for your jar that will let air and water in; we used plastic canvas from a craft supply store and cut it down to fit our jar.
Day 1: Assembly
To get growing, put two spoonfuls of seed into your jar. Add water to the jar until it is about half full. Let it sit in a dark place for between 4 and 6 hours. Then drain out the water—this is where that water-permeable top comes in handy. Having a top that lets you pour water in and out without losing the seeds is an important part of this project. Rinse and drain the seeds and let them sit overnight.
The waiting is the hardest part
Rinse and drain the seeds twice a day. Continue to let them sit in a dark place and watch as the seeds begin to sprout. First you will see radicles forming, these are early roots. We had a few radicles on Day 2 and a lot on Day 3.
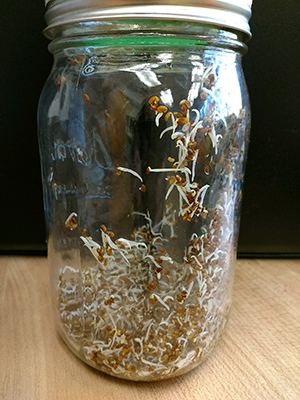
Day 2: The seeds now have radicles (early roots).
Then you will see small leaves begin to form; we saw the first few form on Day 4 with increasing maturity of leaves as the days went on.
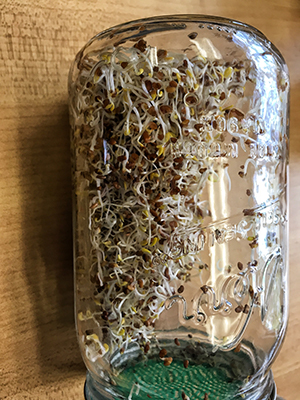
Day 5: You can just barely see tiny yellow leaves appearing.
You may notice that some of your seeds never germinated. We had this issue with our first try, but we still ended up with a sizable portion of sprouts to enjoy.
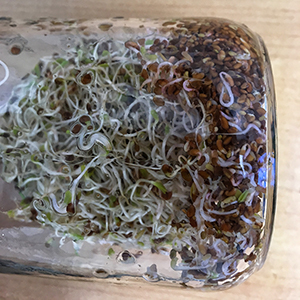
You can see at the bottom of the jar that many of the seeds never sprouted.
Once you have sprouts with green leaves, you’re ready to get them out, rinse them off once more, and enjoy!
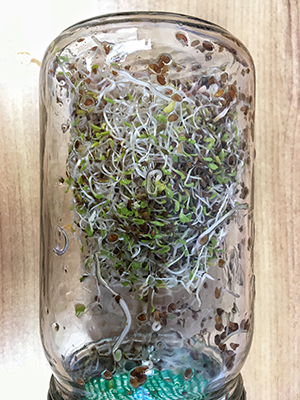
Day 7: These sprouts are ready to eat!
A final note before eating
Some may find it necessary to remove the seed hulls, especially if they didn’t come out during your twice daily rinses. This can be done by soaking all the sprouts in a bowl of water. The edible sprouts will sink below the hulls which float to the surface. Use a spoon or a small strainer to skim off the seed hulls.
Note: An earlier version of this article misspelled the word radicle (the embryonic root of a plant); we regret the error.